Course guide
The course will run over a period of nine weeks, allowing some flexibility for absence and/or school half-term.
Week 0
Before the course starts...
Take a few moments to read the 'Access, health & safety' guidance.
Click on the 'Equipment to bring' picture below to enlarge it.
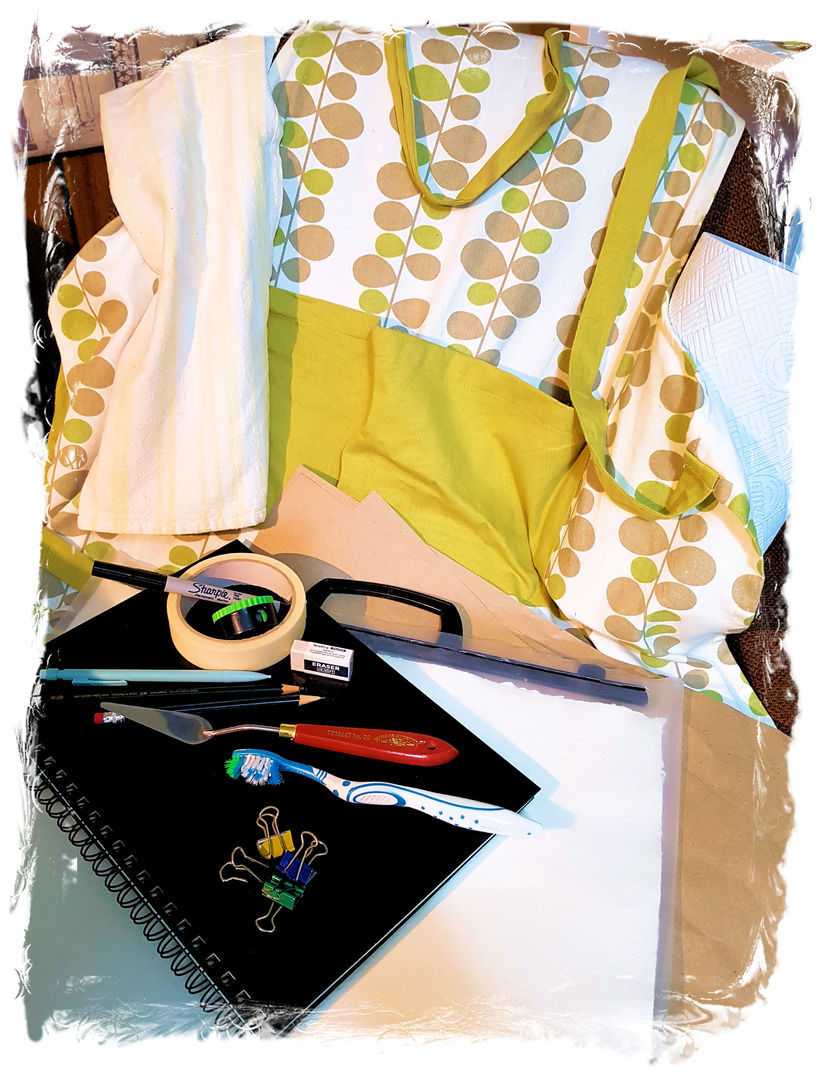
What to bring with you
You will need to bring the following:
- An A3 art carry case
- An A4 sketchbook for notes,
drawings & designs - 2B (soft lead) & HB (hard lead) sharp/mechanical/pencils
& eraser - A ‘Sharpie’ fine liner pen
- A soft (flexible) palette knife
- A roll of masking tape
- An old 'full' apron
- An old tea-towel
- Kitchen roll (for cleaning up)
- An old clean tooth or nail brush
- 1-inch (or 2-3cm) bulldog clips (if you have them) x 4
- Mobile phone for photos!
Homework
Ready for the first session, draw out some 15x15cm squares in your sketchbook and divide each square into 5 sections... Do this with straight lines; or take your pencil for a walk. Then, using colour, fill each section with different marks, patterns and/or shapes; but keep them reasonably simple...
See the Examples page for ideas...
Week 1
Activity
- Introductions
- Equipment & room layout
- Ideas and designs
- Transferring your design to lino
- Starting to cut
Homework
Look at 'Other printmakers'...
In your sketchbook, write down which artists' prints you like and why...
Week 2
Activity
- Finishing your cut
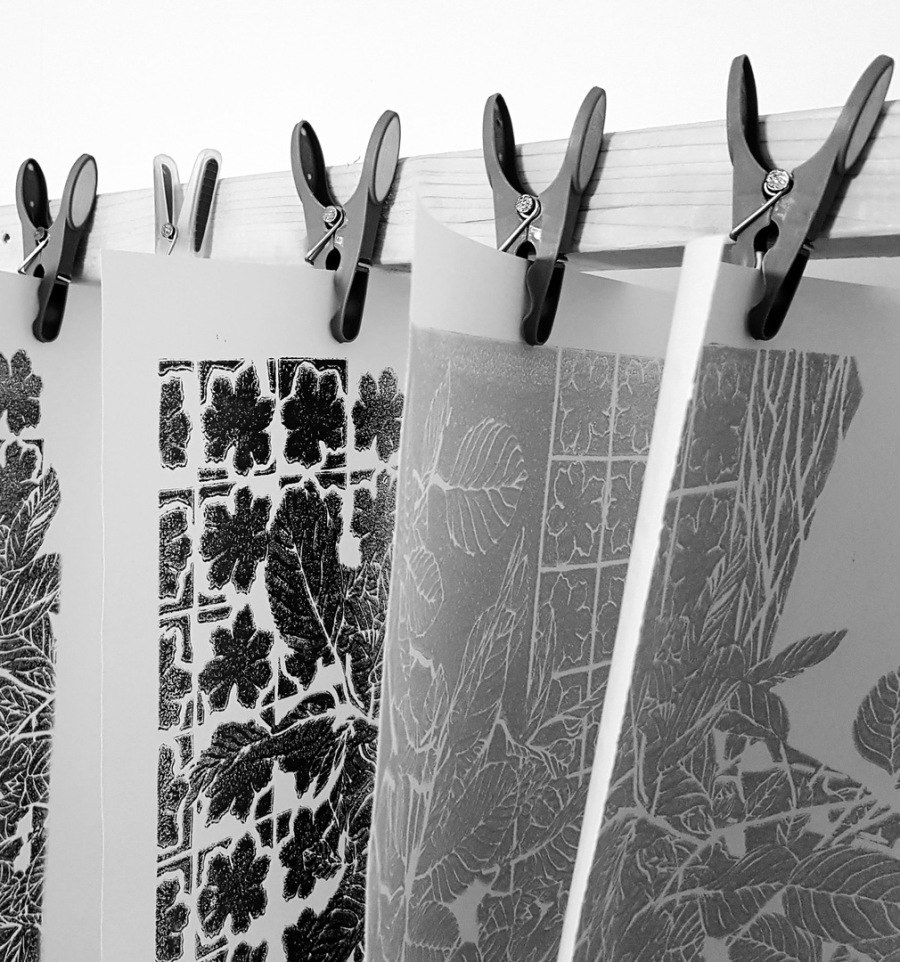
- Taking prints of squares
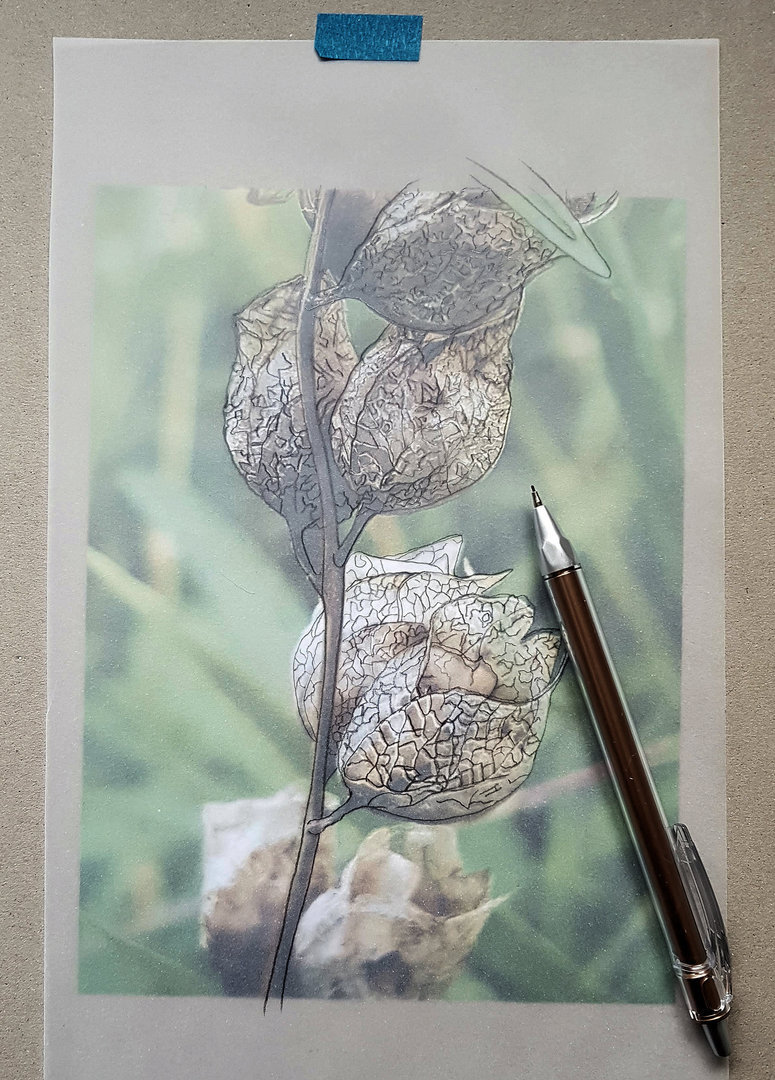
- Preparing pictures for printing A4 piece. See 'Composition' video.
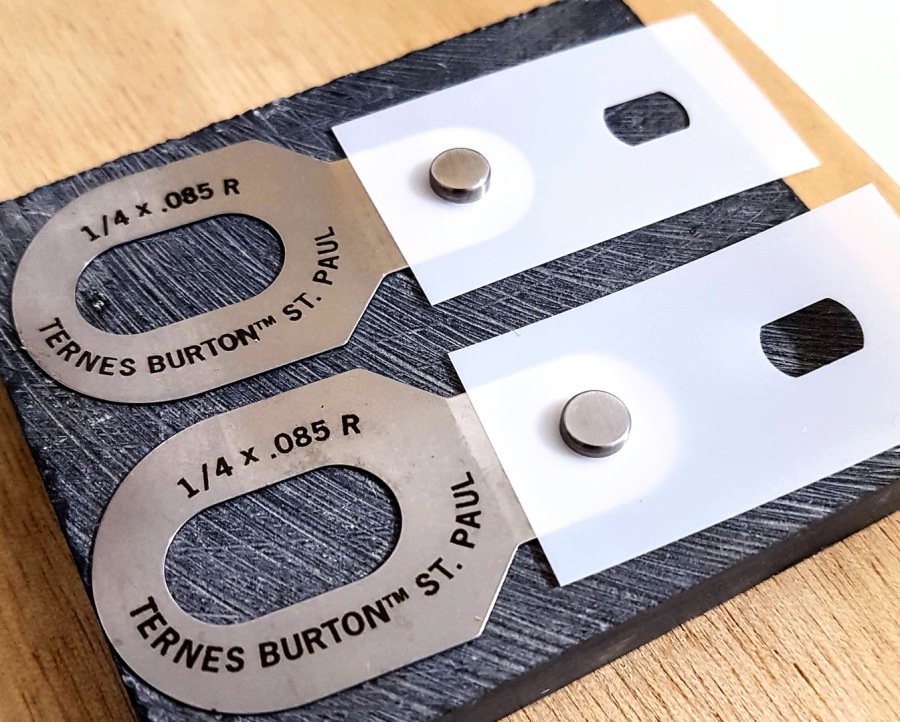
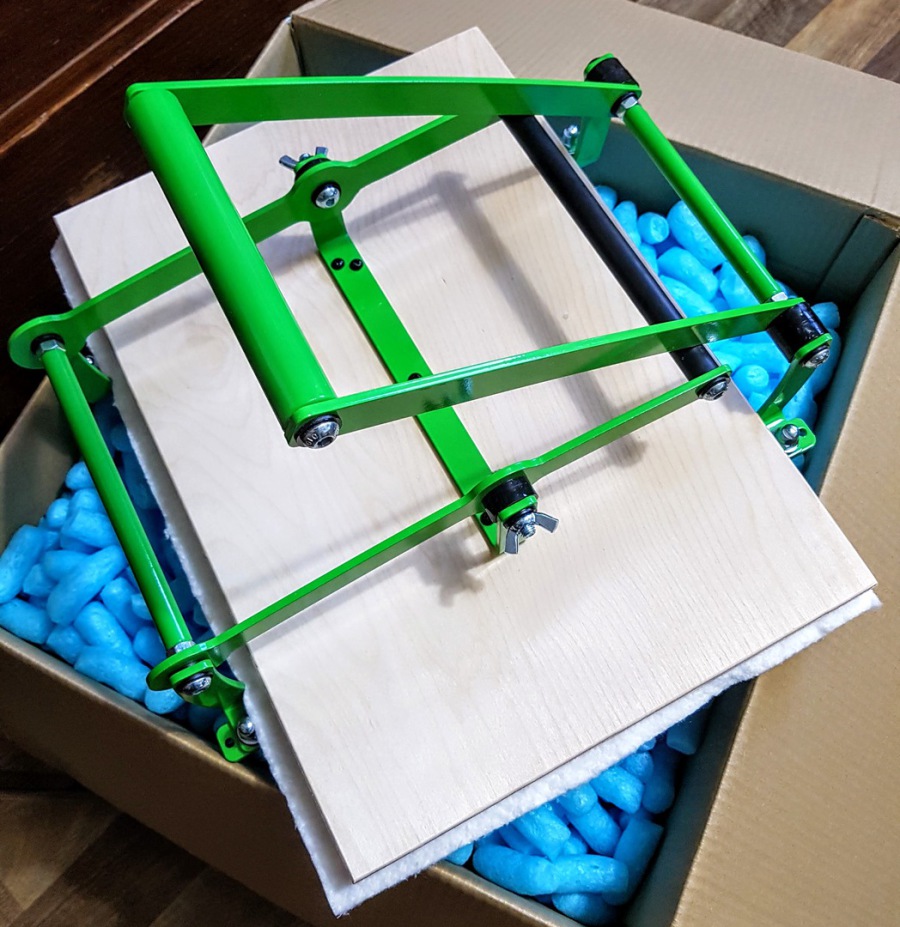
- Registration boards & paper preparation.
Week 3
Activity
- Transfer drawn image onto A4 lino
- Planning for four colours.
- Cutting
- First layer of ink?
Homework
Make notes about what you've learned so far; and any notes about what you plan to do on your print...
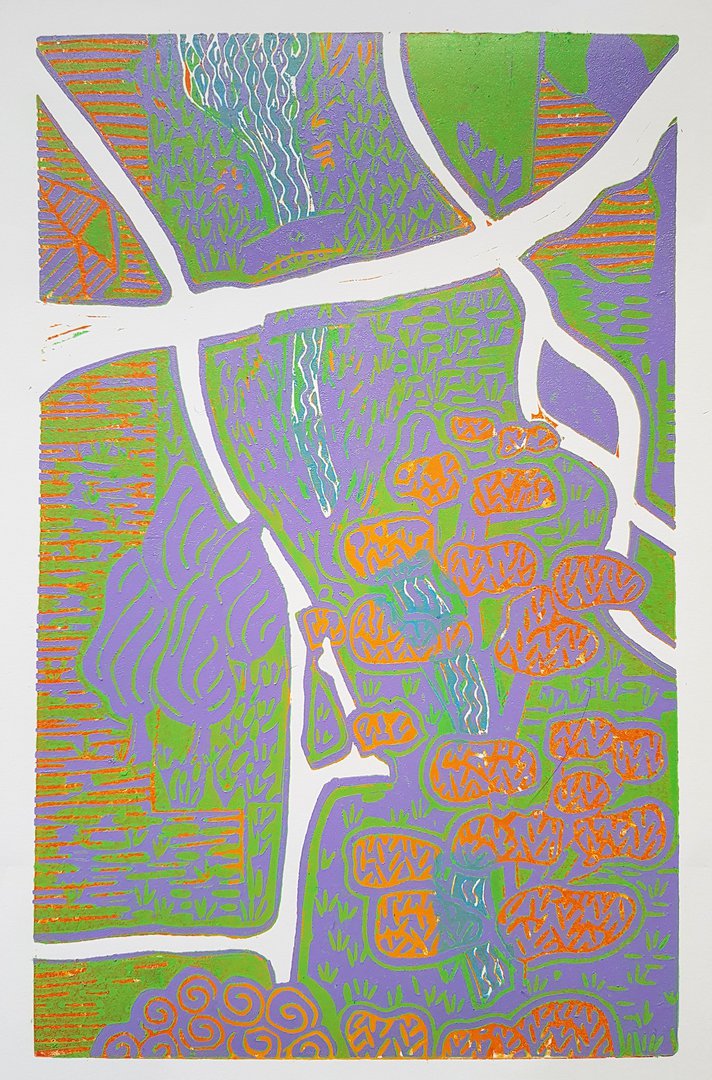
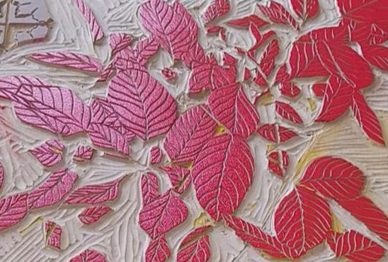
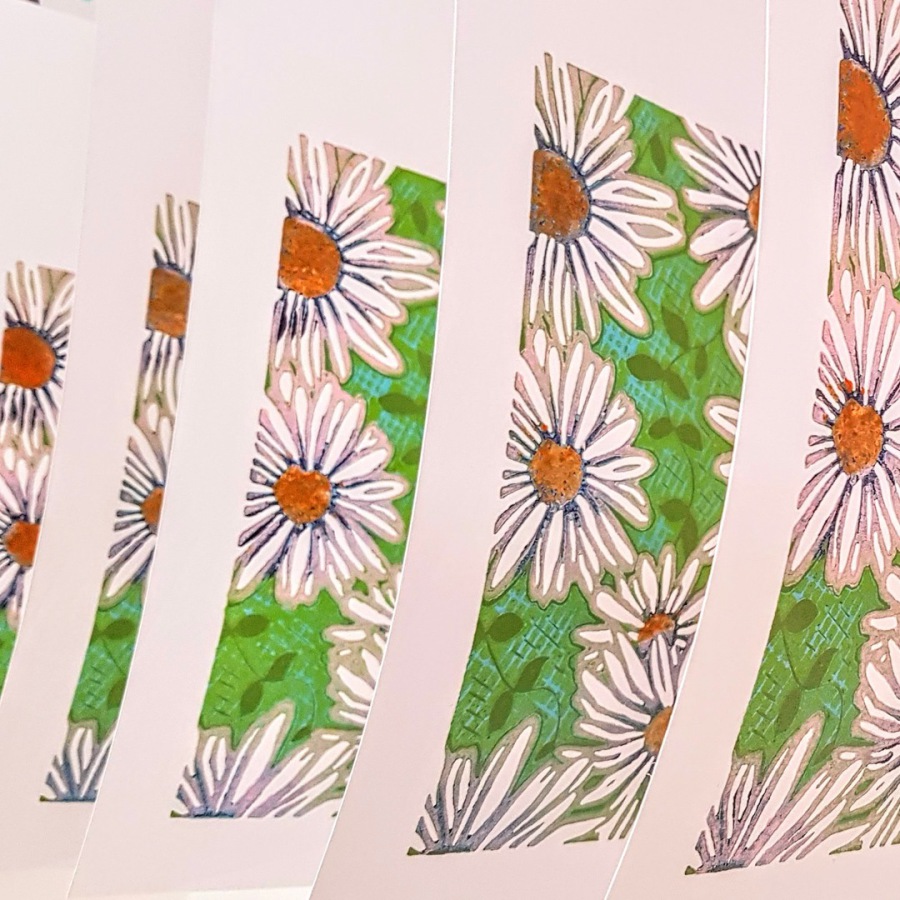
Look at 'Works in progress' to see how an image imerges using layers of colour.
Week 4

Activity
Cut out the white areas of your print image and/or apply first layer of ink. Perhaps try applying a 'gradient' layer to your background.
Homework
Plan your next cut and colour... Keep looking at other printmakers' work.
Week 5
Activity
Now cut away whatever you want to leave the colour you have just applied, ready to apply the next colour...
Homework
Keep planning ahead... Make notes in your notebook...
Week 6
Activity
Now cut away whatever you want to leave the colour you have just applied, ready to apply the next colour... Think about mark-making and different cutting techniques as you begin to add more detail to your print.
Homework
What colour will you use next week?
Week 7
Activity
Now cut away whatever you want to leave the colour you have just applied, ready to apply the next colour... Try 'selective inking' to use more than one colour in one printing session.
Homework
Look at your colours carefully... Do they emphasise your subject? How do they work together? Make notes...
Week 8
Activity
One more layer to apply this week... Cutting and printing...
Homework
Week 9

Activity
This week we'll be learning about 'editioning' and where to title, sign and date your prints. We'll also talk about mounting and framing.
Homework
Go off and be printmakers! Spread the joy!